WordPress installer
With the WordPress-installer in the Service Centre you can easily install WordPress ready for use under a domain name in your hosting package. Below you find a manual for installing via this installer. In the section 'WordPress-installer FAQ' you can find further directions in case you encounter problems.
Contents
- Updating your CMS
- Installing WordPress
- Before you begin: does the DNS refer to our servers?
- Go to the "WordPress Installation"-page
- Choose the destination folder for the installation and fill in the administrator address
- Congratulations! Your package is installed
- Finishing the WordPress installation
- Logging in to your WordPress installation
- Troubleshooting
Updating your CMS
If you have already installed WordPress, but you want to upgrade, it can be the case that you are asked for some login details. The SFTP-login details are:
Standard login credentials:
- Server name: sftp.greenhost.nl
- Login name: your SFTP-username (often looks like 'webmaster@example.org')
- Port/protocol: 21/FTP
- Password: your SFTP password
Installing WordPress
Before you begin: does the DNS refer to our servers?
Unfortunately it is not possible to use the WordPress-installer if the A-record in the DNS of the domain name does not refer to the location on which you want to install. WordPress does not allow this. If you have a domain name that is not (yet) registered with us and you want to use the WordPress-installer, then first check that you have set the right DNS-reference for the (sub-)domain name of choice.
Go to the "WordPress Installation"-page
Log in as administrator for your account in our Service Centre and go to "WordPress Installation" under Hosting → Package-settings.
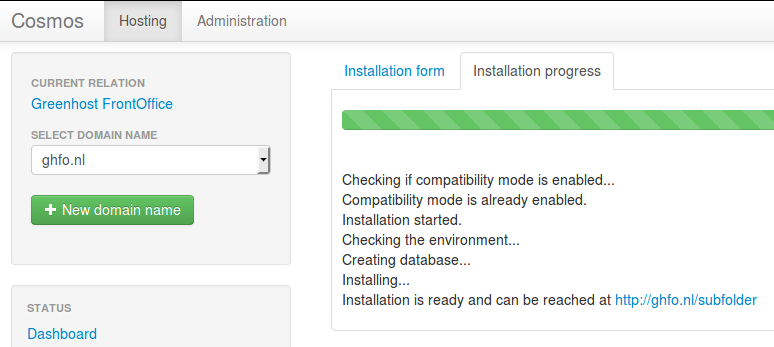
Choose the destination folder for the installation and fill in the administrator address
If you want to put your website on the main domain you only need to fill in a working email address. Click on "Install" to start the installation.
If you want to put your site on a subdomain or in a separate folder you can choose one of the existing subdomains from the drop-down menu or fill in a specific subfolder. "@" means the main domain.

Congratulations! Your package is installed
By installing in this way a MySQL database is created that will also be available via the Service Centre. In addition, WordPress is installed in your destination folder. If there are no complications, your WordPress package is ready within minutes. On the line which says the installation is ready, you find a link to your new WordPress site. Should something go wrong with installing, then check first whether you can solve this via the Troubleshooting section.
If this does not help, then contact us.
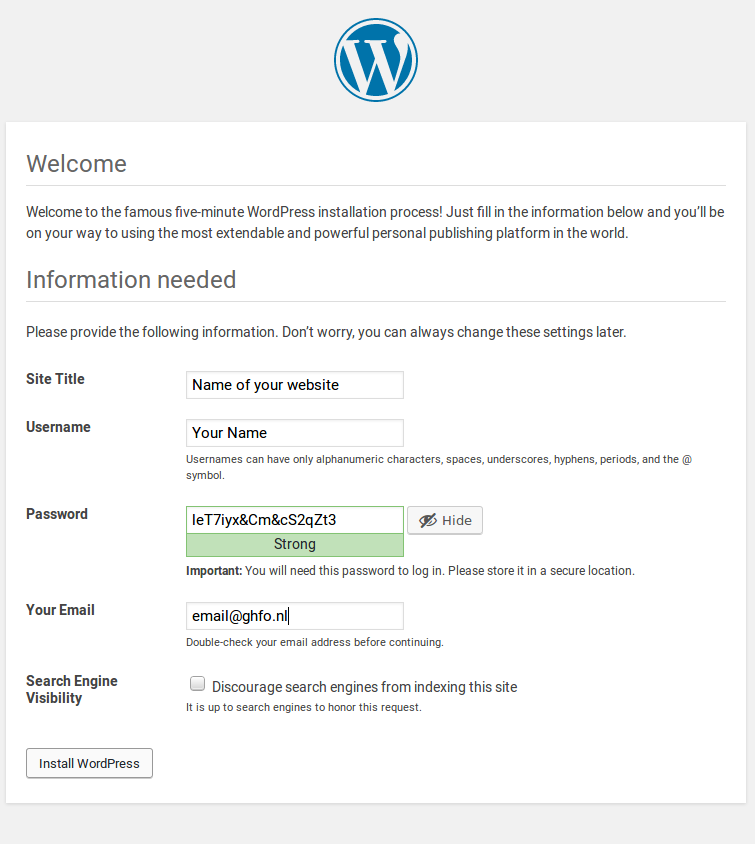
Finishing the WordPress installation
If you click on the link that is given by us on finishing the installation, you arrive at a page where you can choose under which language the installation will be prepared. When you have made your choice you arrive at a page where you need to fill in some more details to completely finish the installation. These details are: a website title, username for the administrator (to withstand hackers rather something else than 'admin'!), a long password or passphrase and the email address that you have filled in earlier. You can optionally tick that search engines may not index the site yet (which can be useful if your site is in development for some time).
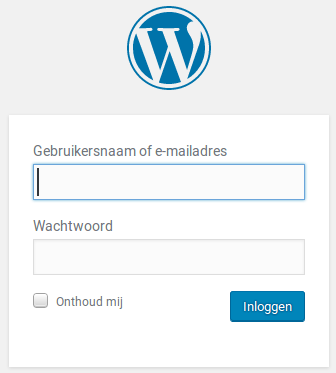
Logging in to your WordPress installation
The login address for your WordPress site is by default the address on which you have installed WordPress with subfolder "/wp-admin/" (for example: http://uw.wordpress.nl/wp-admin/). If you log in you will arrive at the Dashboard environment and you can start building your WordPress site.
We recommend to keep the Codex of Wordpress close at hand as user manual: codex.wordpress.org. WordPress is known for its active community. If you have questions and problems with WordPress you can always get help at the WordPress forum.
Troubleshooting
Error message "ERROR: The folder for this installation is not empty. Empty it or select a different folder" while installing?
You are not able to install your package and you get the red-coloured message: "ERROR: The folder for this installation is not empty. Empty it or select a different folder". This means that the destination folder that you have chosen contains files.
Solution: Choose another destination folder for installation. Or empty the desired folder using an ftp program. After that you should be able to install your package.
Error message "ERROR: Database could not be created. Creating is not permitted." while installing?
You are not able to install your package because you have already created the maximum number of databases.
Solution: Go in our Service Centre to Hosting -> MySQL Databases to remove superfluous or unused databases. Feel free to contact our helpdesk if you need a higher maximum of databases. If you are allowed to create databases again you should be able to install your package without problems.